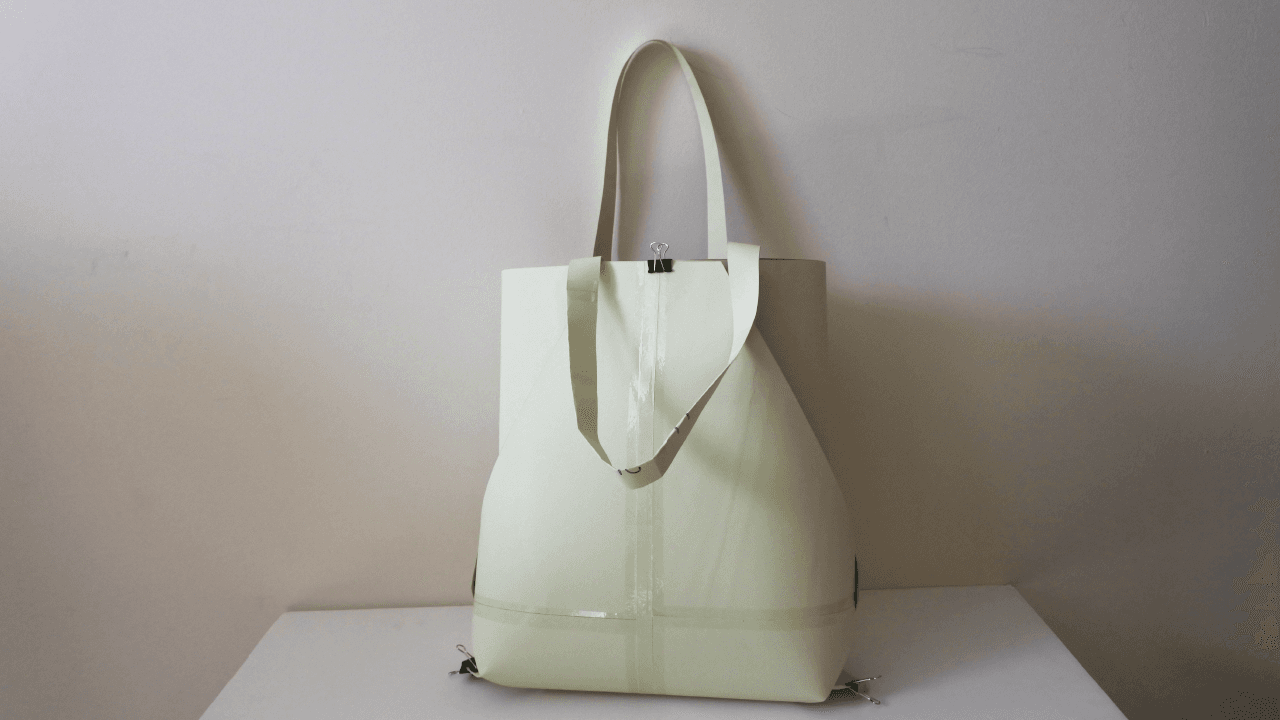
As I'm learning and gaining knowledge on new ways to approach a design or execute the making of an accessory, we are always looking for ways to improve a project. When designing a new accessory, I take into consideration multiple factors in how this particular project will turn out.
As I'm exploring the design of my second large project to date, I sketched and made a paper prototype of bag 2. However, I've postponed the making of this bag as I felt there was something missing and the assembling needed to be revisited.
So I diverted my attention to market research on the latest bag designs and focused my attention on the assembling components of the bag and how the overall jigsaw puzzle is incorporated into the overall design.
There are several areas for improvement and this is how I did it.
1) the width of the bag for practicality - there are two layers to the bag design, one is a unique shape to create an overall sophisticated and one-off piece desired look. Second is the holding of the items inside the bag - the primary bag material itself.
Issue: The primary bag was too narrow, non-practical, and felt restricted.
Solution: Increase the width of the bag to maximise the space.
2) Handle
Issue: the handle was too short and could only be held by hand
Solution: increase the length of the handle to create multifunctional use of the bag so the bag can be carried on the shoulders, by hand, or around the wrists. Moreover, with an increased width in size, I've added a side tab to the bag (optional) to wear as a cross-body bag.
3) Final look and feel
Issue: the overall bag was missing the sharp finish
Solution: added an additional long flap alongside both inside edges where the handles are positioned and this will hide the handles. I also plan to add magnets to close the bag for the sharper finish hidden beneath the long flaps and also add base studs which will help protect the bag from wear and tear.
With these improved features corrected to the sample project, I can now feel more confident in delivering this project. Stay tuned for the final project in the coming weeks. In the meantime, you can follow my journey and also watch the first design, to alter the prototype videos.
Stay tuned for weekly updates.
Watch the videos:
Part 2 - alteration to design (sample prototype)>
If you are interested in purchasing bag no.2 then please email me.
← Back to blogs