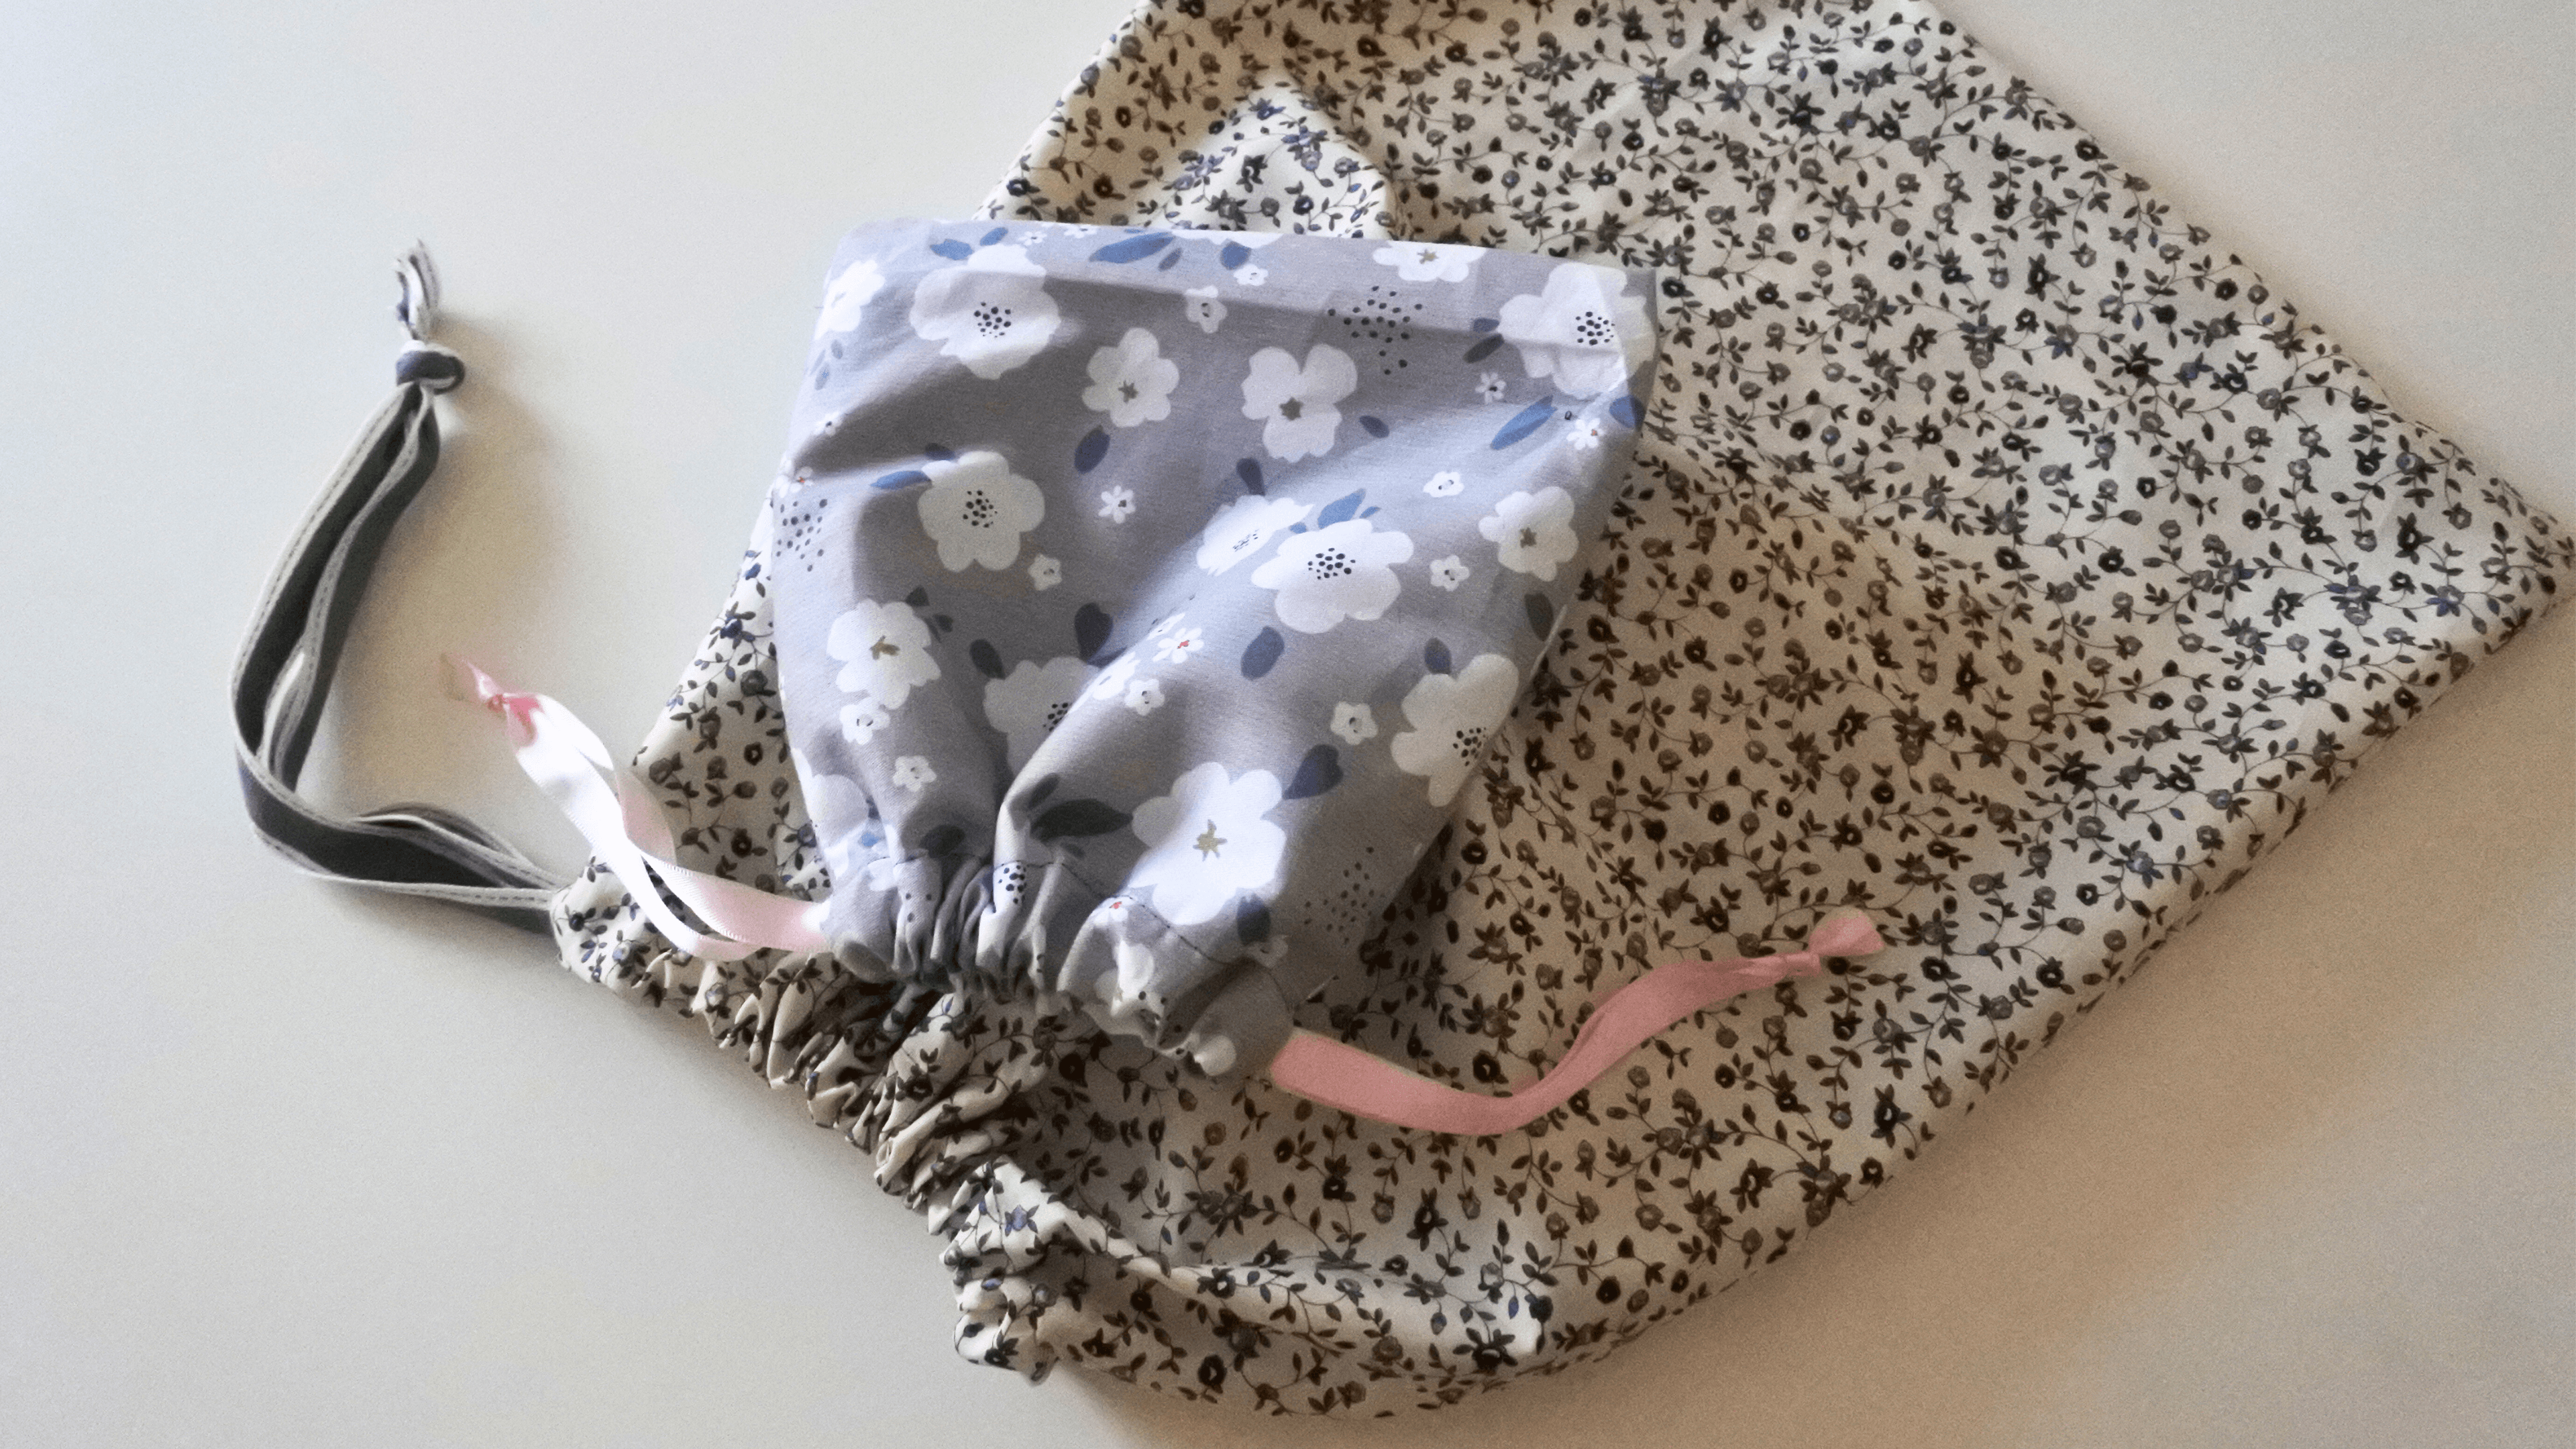
There are several reasons why making drawstring bags can be a great DIY project:
- Practicality: Drawstring bags are versatile and useful for various purposes. They can be used to store craft items, smaller accessories, or everyday essentials. They are also handy for organizing items during travel or as gift bags.
- Customisation: Making your own drawstring bag allows you to choose the fabric, size, and design that suit your personal style or specific needs. You can select fabrics in your favorite colors or patterns, or even repurpose old fabrics to give them a new life.
- Sustainability: By making drawstring bags yourself, you can contribute to reducing waste and promoting sustainability. You can repurpose fabric scraps or old clothes, which helps minimize the consumption of new materials and reduces the environmental impact.
- Cost-effective: Creating drawstring bags can be a cost-effective option compared to buying them. With basic sewing skills and materials you may already have, you can make multiple bags at a fraction of the cost of store-bought ones.
- Personalised gifts: Handmade drawstring bags make thoughtful and personalised gifts. You can customise them for specific occasions or individuals by choosing fabrics and designs that reflect their interests or preferences.
- Enjoyment and creativity: DIY projects like making drawstring bags can be enjoyable and fulfilling. It allows you to express your creativity, learn new sewing techniques, and engage in a satisfying and productive hobby.
Overall, making drawstring bags offers a combination of practicality, customization, sustainability, and creative satisfaction, making it a popular choice for DIY enthusiasts.
How to guide:
Making a drawstring bag is a relatively simple sewing project that can be completed within an afternoon. Here's a quick guide on how to make a small drawstring bag using fabrics and materials you may already have.
Watch video: Drawstring bag part 1 (small)>
Watch video: Drawstring bag part 2 (large)>
Materials you'll need:
Fabric of your choice (25cm h - 4cm seam allowance x 23cm w - 1/2 seam allowance)
Matching thread
Scissors
Rotary blade (optional)
Ruler
Sewing machine or needle
Pins
Ribbon, cord, or fabric strips for the drawstring
Iron
Step 1: Prepare the fabric
Choose the fabric you want to use for your drawstring bag. You can repurpose an old t-shirt, pillowcase, or any fabric you have on hand. If needed, iron the fabric to remove any wrinkles or creases.
Step 2: Cut the fabric
Cut a rectangle from your fabric measuring 25cm x 23cm. You can either cut x2 or double up the height so you simply fold it. Adjust the size as desired for a smaller or larger bag.
If you double up then you would need to fold the fabric in half lengthwise with the right sides facing each other.
Optional: you can create an inside pocket for the bag measuring 16cm x 23cm.
Step 3: Mark up and pin around the edges
From the top of the bag, mark 5cm-6cm down and leave this 1cm section blank which will create the opening for the drawstring. Pin and sew along the edges with 1/2 seam allowance.
Backstitch at the beginning and end to secure the stitches. Trim the excess fabric and remove any loose threads.
Step 4: Create the drawstring casing
Fold down the top edge of the bag towards the wrong side by about 1 cm and press with an iron to create a crease.
Fold down the top edge once more, this time about 3 cm and pin in place.
Sew along the folded edge, leaving a small opening on one side to insert the drawstring later. Backstitch at the beginning and end to secure the stitches.
Step 5: Attach the drawstring
Find ribbon, cord, or fabric strips, each measuring the length of the bag four times, then cut in half which will create two long pieces.
Attach a safety pin to one end of a drawstring piece and thread it through the casing, starting from one side of the opening and going all the way around until it comes out from the same opening.
Repeat with the second drawstring piece, starting from the opposite side of the opening. Make sure both ends of the drawstrings are even, then remove safety pins and tie a knot to secure them.
Step 6: Finish the bag
Turn the bag right side out. Give the bag a final press with an iron if needed. Your small drawstring bag is now ready to use!
Feel free to personalize your bag by adding embellishments to make it unique and special. Enjoy your handmade drawstring bag!
If you would like to use my ready-made PDF patterns (small and large) then please email and let me know.
